A printer driver is required in order for your computer to speak directly to the physical device, installing a driver is fairly straightforward and should provide the full functionality of your office printers or MFDs.
You can also download drivers for a host of compatible devices direct from the Print Logic downloads page
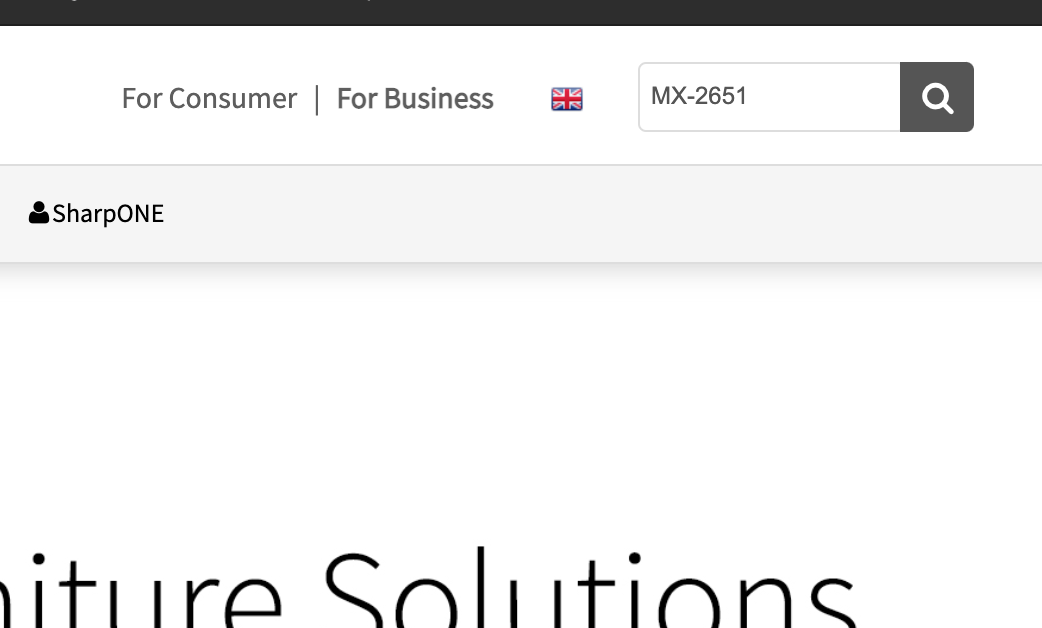
Search for the model number of your photocopier or printer using the search function in the top-right area of the window.
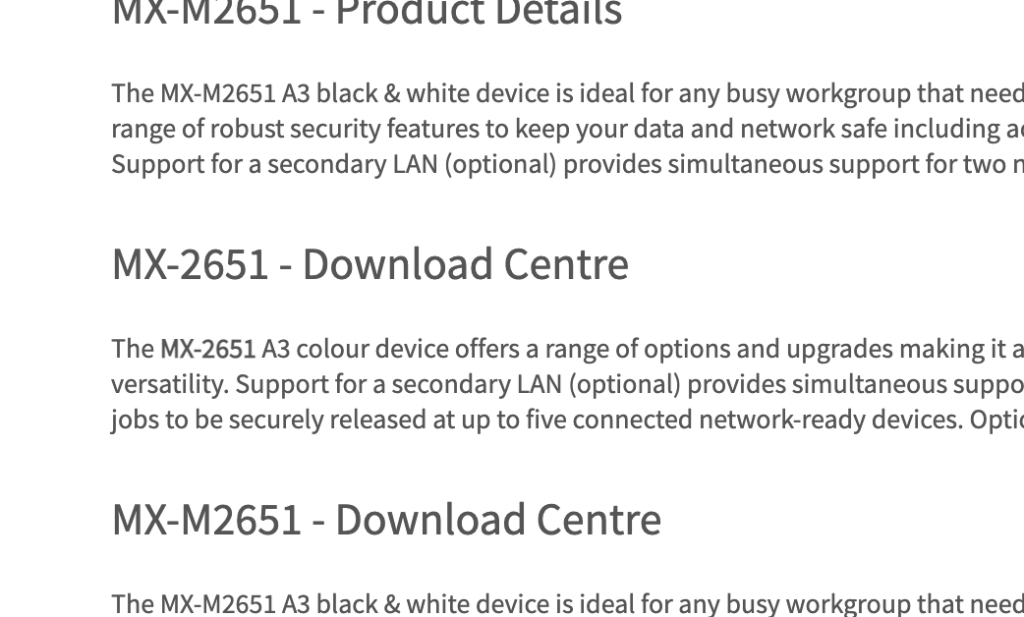
Step 3 - Open the download center
Find the result which has your printer’s model number and ‘Download Centre’ in it. Click on it to be taken to the Download Centre.
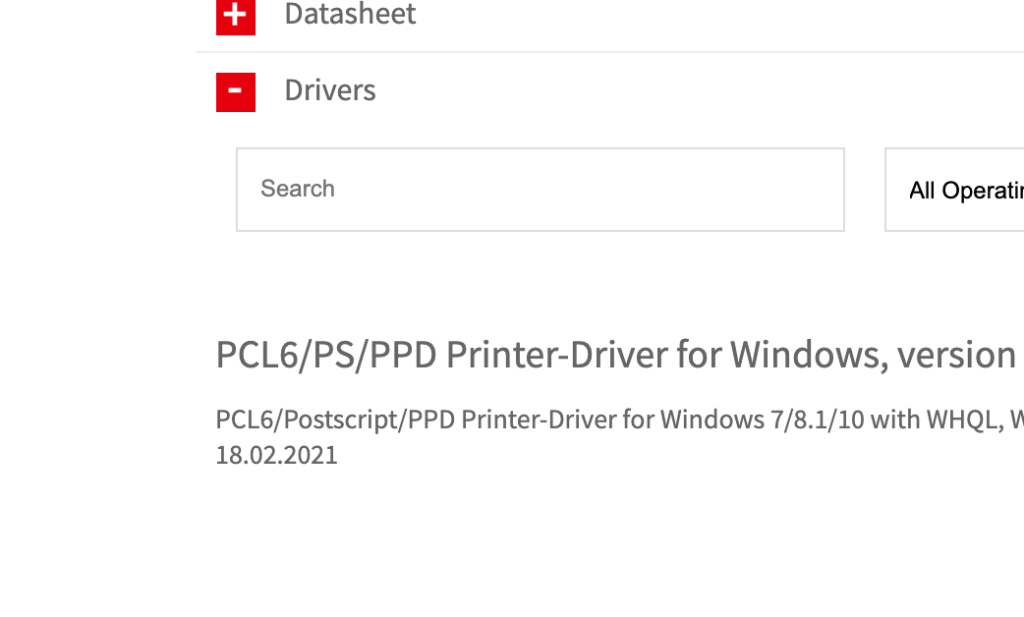
Step 4 - Open the Drivers Section
Open the Drivers section of the Download Centre to find a list of all the Sharp Printer Drivers.
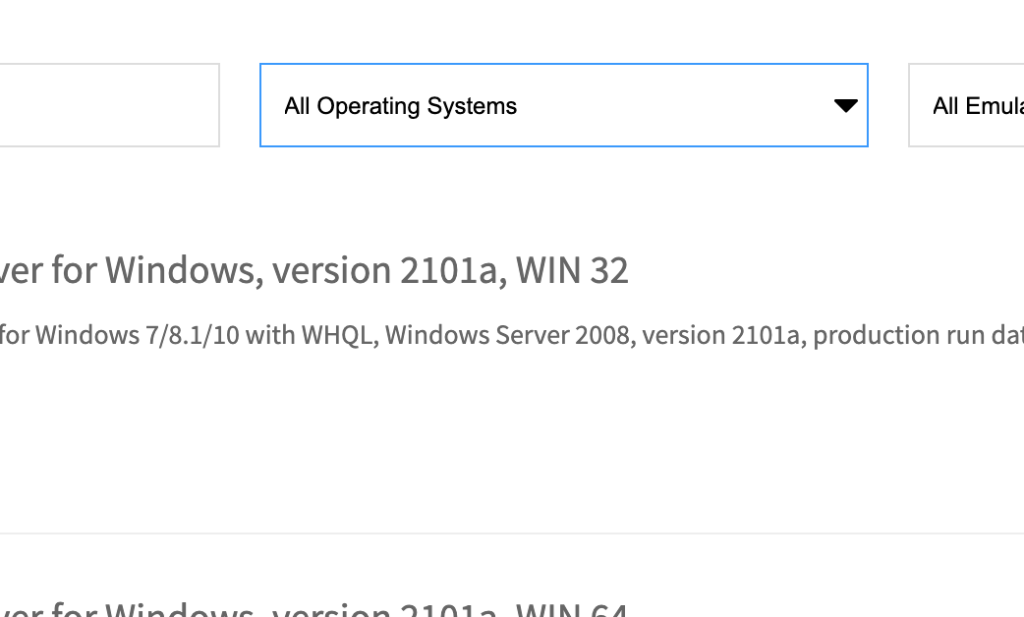
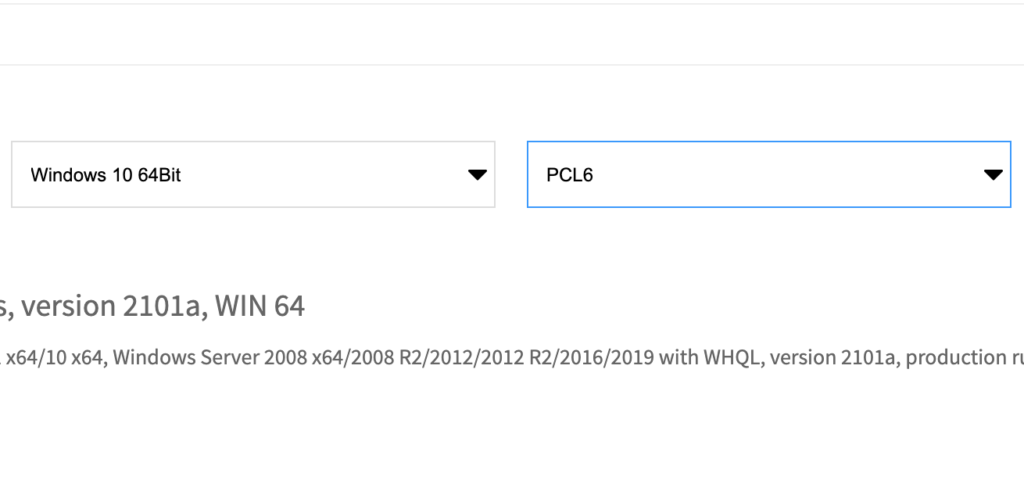
Step 5 - Operating System
Select the operating system your computer is using in the drop-down menu under ‘Operating Systems’.
Step 6 - Emulator
Select the Emulator drop-down menu and select ‘PCL6’.
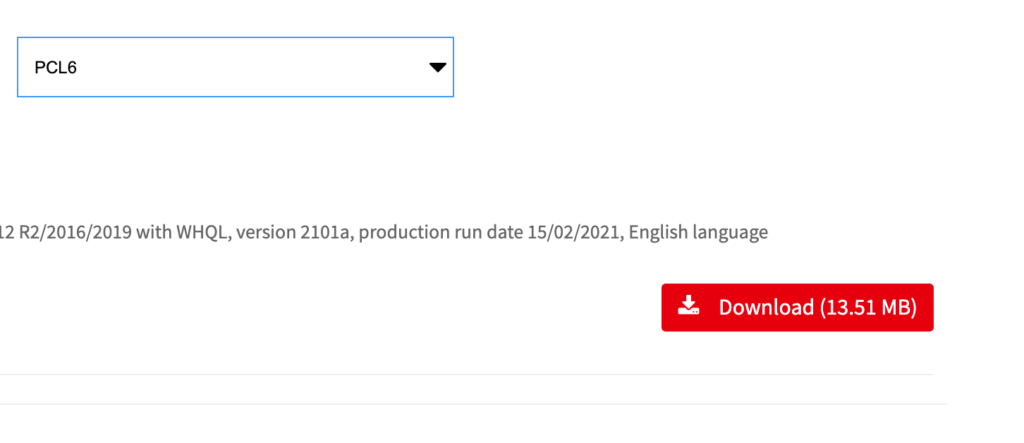
Step 7 - Download your Sharp Printer Driver
Click on the red download button to download the Sharp printer driver.
Step 8 - Installation
Open the downloaded driver file, and follow the steps given on the installer. When prompted, select ‘Standard Installation’.
Step 9 - Configuration
Once the installation is complete, you may need to configure the MFP (the latest model’s of Sharp photocopiers do this automatically). Navigate to Windows > Settings > Devices > Devices and Printers on your computer.
Find your new device in the list, right-click on it and select ‘Printer Properties’.
Click on the ‘Configuration’ tab in the ‘Printer Properties’ window. Select ‘Auto configuration’. Check all the radio-buttons which have fingers pointing at them. Click ‘Ok’, and then ‘Apply’. Return to the ‘General’ tab and click ‘Ok’ to complete the installation.
Sharp Printer Driver installed
Your printer driver should now be fully installed on your computer and you should be able to print. We recommend you print a test page at this point to check everything is working. Contact us if you have any problems